Wind Down Wednesday: Yes To Paper Masks

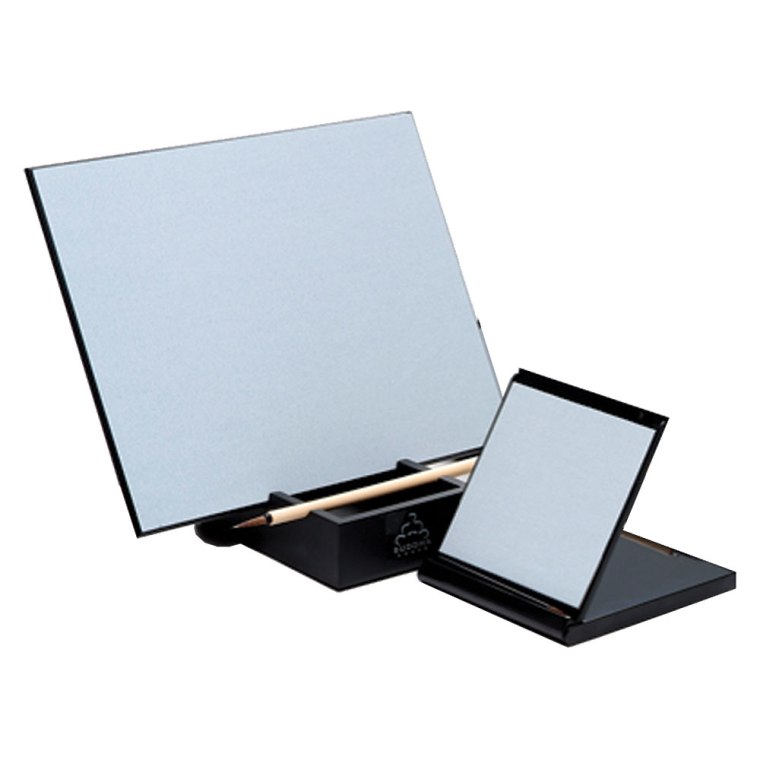
It’s that time of the week again, you’ve made it, you’re halfway through! Now, it’s time to take 15 minutes for yourself! So far in this series, I’ve touched on the relaxing benefits of adult coloring and Buddha Boards. I’ve neverbeenso excited to share with you my next little wind down secret: Yes To Grapefruit Pore Perfection Paper Masks. I buy these things in bulk. 

  
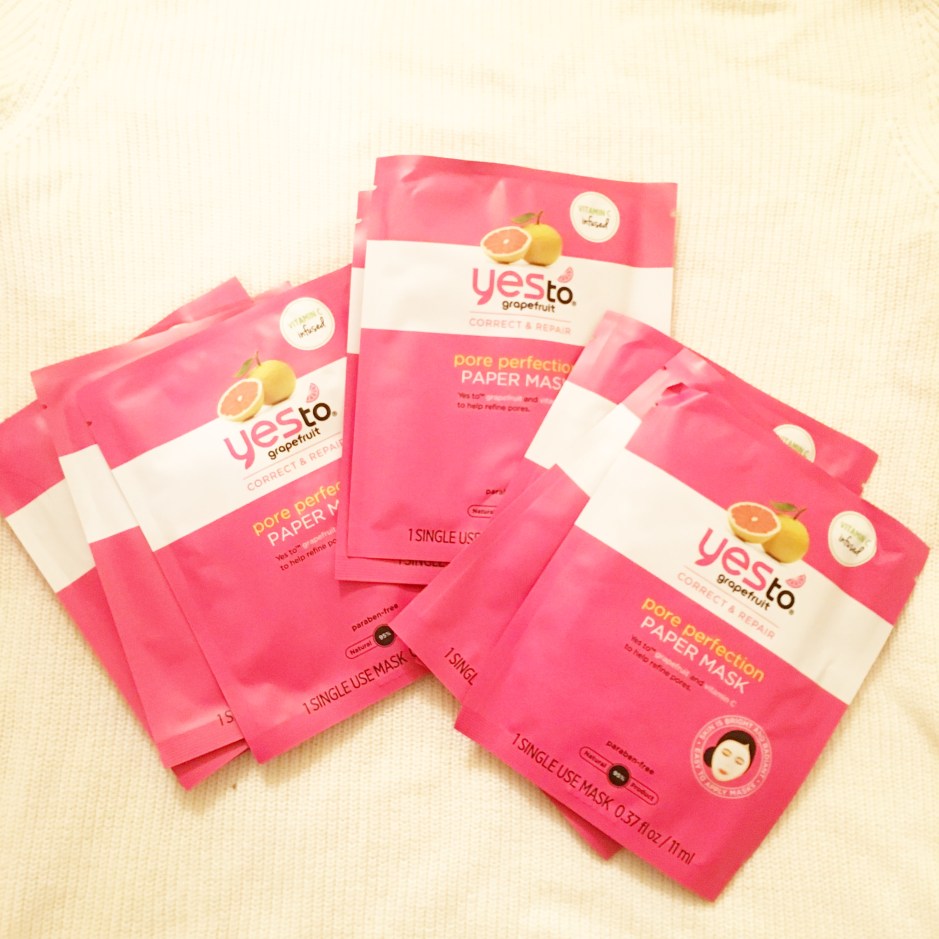
I am constantly looking for the next best beauty product, especially face masks. Finally I was in Target browsing the aisles, as usual, without a cart, hoping that would cut down on my purchases, until I saw these bright pink packets staring at me.

I had heard of Yes To in passing, so I figured why not try it out. But how to did I arrive at Grapefruit?

Yes To Grapefruit: Evens Skin Tone/Brightens
Why Grapefruit? Grapefruit is packed with vitamin C, an immune system booster that encourages collagen production for younger-looking skin. It also contains citrus flavonoids, powerful biological actives which help prevent the over production of melanin in the skin resulting in a brighter complexion. The extract and essential oil come from the peel of the fruit, which has a refreshing effect on the body.

So, not only are grapefruits great in a drink, but they’re also great for your skin! I picked up a single packet of the Yes To Grapefruit Pore Perfection Paper Masks and eagerly went home to test it out. This is, you guessed it, an actual paper mask you apply to your face, rather than a cream-based product.

Yesto Mask

The instructions state to leave the mask on for 10 minutes, I left it on about 15. I felt a tingling sensation that I didn’t want to end because it had to be working right? I peeled off the mask, face was a little red, but we’re talking SERIOUS pore reduction. I am one of those who can spend hours staring at my pores in the mirror and there was nothing left to stare at! It was brilliant! Once the reddening faded, my skin looked even too!

I try to use these at least once a week; I promise, you’ll have neverbeenso relaxed.

The other great thing about Yes To products is that they are made with 95% natural ingredients. They never include parabens, phthalates, SLS, silicones, chemical sunscreens and other potentially harmful ingredients. AND they don’t test on animals! One more thing, Yes To gives back a portion of company profits to the YES TO Seed Fund, whose goal is to inspire kids to lead healthier, more positive lives.

So while you’re winding down and making your skin feel good, you can feel good about it too.

Yes To offers something for everyone:

Yes To Carrots: The Original – Moisturizing
Why Carrots? A carrot is brimming full of beta carotene (they have the most of any vegetable!), a fabulous antioxidant that helps protect and nourish skin.

Yes To Cucumbers: Rejuvenation
Why Cucumbers? A cucumber is packed with rejuvenating vitamins which soothe and soften the skin.
They also have cooling properties to help keep your skin supple and fresh, with a fragrance that soothes and relaxes.

Yes To Tomatoes: Balancing
Why Tomatoes? Tomatoes are rich in lycopene. If your pores were a secret club, Lycopene would be the bouncer. This powerful anti-oxidant helps blocks free radicals and keeps your skin balanced. Fruit (remember tomato is a fruit!) acids naturally help clear your complexion – so your skin can party on.

Yes To Blueberries: Anti-aging
Why Blueberries? Blueberries are packed with antioxidants such as anthocyanins which help fight the formation of free radicals that damage the skin’s microstructure. This helps protect you from premature aging. And who doesn’t want that?

NEW Yes To Coconuts: Hydrate and Restore
Why Coconuts? Coconut (Cocos nucifera) is one of nature’s most multi-tasking offerings, rich in essential vitamins. Coconut oil is light, nongreasy and exceptionally emollient. Whether you’re interested in the fruit’s water, milk, meat, shell or oil, there are plenty of reasons to appreciate the natural awesomeness of Coconut!

What’s your favorite Yes To product? What are other face masks you’d recommend?


Wind Down Wednesday: Buddha Boards

I started off this Wind Down Wednesday series a few weeks back with my post on adult coloring. Not only do I want to share the ways I’ve found to deal with stress best, but writing is one of my favorites, so why not kill two birds with one stone (pats). We all have our stress, but it’s the way we handle it that makes or breaks us. And I’ve done my fair share of breaking.

Work is a place where a large portion of my stress stems from. My day-to-day features a high-intensity, fast-paced environment paired with high-dollars and high-ranking officials watching my every move. Being that I’m also a perfectionist, this is a known recipe for disaster. I end up bringing my work stress into my home far too often instead of dealing with it at the best place possible, AT WORK.

While my fiancé was browsing a local toy store at home for Christmas gifts, he stumbled across a Buddha Board.

Wind Down Wednesday: Buddha Boards

From the creators: “Buddha Board is inspired by the Zen idea of living in the moment. You simply paint on the surface with water and your creation will come to life in bold design. Then as the water slowly evaporates, your art will magically disappear leaving you with a clean slate and a clear mind, ready to create a whole new masterpiece.”

Knowing all too well the stress I deal with at work, he picked one up and excitedly brought it home for me (figuring $14 is worth it if it can save just a slice of my sanity). I love to think I’m #Zen; although, I’m far from it, but the idea intrigues me. So, instantly I figured I’d give this a shot.

I went to work the next day, placed the mini Buddha Board on my desk, filled the tray with water and waited for the perfect moment to test it out.

Wind Down Wednesday: Buddha Boards

6:00am and the perfect moment had arrived (doesn’t take long when your morning starts bright and early at 4:15am). Instead of cursing under my breath (if my co-workers are lucky), as I normally would, I picked up the mini paintbrush and doodled. Just freely moving in an unclear motion in an environment that’s so rigid and restricted was INSANELY calming! I did this at least 10 times throughout the day. I really felt better and for such a small price!

I can’t always change the environment around me, so why not work on what I can!

Wind Down Wednesday: Adult Coloring

So now that we’re adults, we have a lot of responsibility, and with responsibility comes stress. But can you remember back to the time when you had none?! What was your biggest concern? Being picked last on the dodgeball team? Your parents taping over your favorite recorded show on VHS? Or maybe going outside the lines while coloring? I think we can all admit we’d give anything to have these be the worst parts of our days now. We need to take some time to de-stress regularly, so that we don’t just combust and we get that report done by deadline to keep our jobs to keep our paychecks to then keep our shelters and put food on the table and clothes on our back….wow, better not F up.

This is the first of a new weekly bit I plan on posting with ways to wind it down.

I’m a pretty stressed out person 98% of the time. My Mom, being the ultimate Mom that she is, decided to introduce me to adult coloring. She came to visit one day with a bag full of coloring books and a brand new 96 pack of Crayola crayons. As a kid this would have been the best day ever; as an adult, I just gave her a quizzical look. “Coloring books? Don’t you know I don’t have time to COLOR??” She calmly stated she read about adult coloring being a great way to de-stress. I decided to put this theory to Google. And what do you know, there have actually been studies done that prove that coloring can have a de-stressing effect. According to Huffington Post, “when we focus on a particular activity, we focus on it and not on our worries. But it also ‘brings out our imagination and takes us back to our childhood, a period in which we most certainly had a lot less stress.'”

Psychologist Antoni Martinez said [in the article for Huffington Post] “I recommend it as a relaxation technique. We can use it to enter into a more creative, freer state,” he assures. We can also use it to connect with how we feel, since depending on our mood we choose different colors or intensity. “I myself have practiced that. I recommend it in a quiet environment, even with chill music. Let the color and the lines flow.”

Reading this article alone made me instantly intrigued. In the bag of fun from my Mom, included one adult coloring book and a few kids’ coloring books [ya know, the one’s with big kittens and princesses].

The adult coloring book had pages a little more complex.

Wind-Down Wednesday: Adult Coloring Wind-Down Wednesday: Adult Coloring

I tried these first and immediately found myself getting frustrated because the crayon tip was too big for such detailed designs. [yeah, I’m a perfectionist even when it comes to coloring] However, in the same HP article, cartoonist Antonio Fraguas stated this tip for beginners “Despite how highly stressed you may be, the most important thing is to not use pen markers with alcohol that go through the paper. The proper thing is to use crayons.”

So, to not lose my interest, I moved on to the kids coloring books. These looked way more my style. 

Wind-Down Wednesday: Adult Coloring

I sat for TWO hours coloring. I’ve neverbeenso relaxed. When I was done, I felt like I had a new perspective on life.

I went ahead and invested in some colored pencils which make a huge difference in the adult coloring books, but the kids pages are fun too. And that’s the thing with coloring as an adult, you make the decisions! As long as you are feeling relaxed and pushing some troubles away for a few minutes or a few hours, do what works! You’re an adult, you can buy yourself whatever coloring book you want or browse the online sites that offer free printables! No parent permission needed! You want florals? Kids + Adults. Animals? Kids + Adults. Geometrics? Kids/Adults. Television? Adults. Drink? Adults. The coloring world is your oyster!

Sure, coloring isn’t going to fix all of life’s problems, but it may clear your mind to better focus and organize the important things. Give it 10 minutes and if it’s not working, pour a glass of wine and wind down. 

Butternut Squash, Black Bean and Turkey Chili with Avocado Crema

Up until about a year ago, I hated black beans, loathed them actually. I wouldn’t go near them. NOW, I’ve neverbeenso obsessed. I don’t know what changed with my taste buds, but I regret all those meals that I asked “no black beans please.” I’ve been trying to incorporate them everywhere. This meal does just that, along with a million of my other favorite ingredients: turkey, butternut squash, tomatoes, avocado, cilantro, oh my.

The prep/cook time for this meal is longer than normal, but I was off so I didn’t mind the hour and a half; and it was well worth it! This chili would have been just fine on it’s own, but the avocado crema adds that zing and creates a flavor explosion. The heat from the chili and the coolness from the avocado is a beautiful combination.

Not to mention this is a health food power house!

Butternut Squash, Black Bean and Turkey Chili with Avocado Crema

Butternut Squash, Black Bean and Turkey Chili with Avocado Crema

Let that turkey simmer and it starts to smell deliciousss!

Butternut Squash, Black Bean and Turkey Chili with Avocado Crema

All the looks and feels of FALL!

Butternut Squash, Black Bean and Turkey Chili with Avocado Crema

Now, we’re cookin! And I’m waitin..patiently! I usually fill this time with wedding planning, reality TV watching, wine drinking etc.

Butternut Squash, Black Bean and Turkey Chili with Avocado Crema

  • Servings: 4-6
  • Difficulty: easy
  • Print

Ingredients

Butternut Squash, Black Bean and Turkey Chili
3 teaspoons olive oil
1 lb 99% fat-free ground turkey
1 medium onion, diced
3 cloves garlic, minced
1/4 cup chili powder
1 tablespoon ground cumin
4 tablespoons tomato paste
Kosher salt
1 small butternut squash, peeled, seeded and cut into 1/2inch cubes (about 4 cups)
4 ripe plum tomatoes, chopped
Two 14-ounce cans black beans, drained and rinsed
1/4 cup chia seeds
Freshly ground black pepper
1 to 2 tablespoons white wine vinegar
Avocado Crema to drizzle

Avocado Crema
1 large ripe avocado
½ cup Greek yogurt
3 tablespoons half & half
2 ½ tablespoons freshly squeezed lime juice (from about 1.5 medium limes)
1 teaspoon honey
1 medium clove garlic
½ cup roughly chopped fresh cilantro
1 teaspoon cumin
½ teaspoon kosher salt

Directions

Butternut Squash, Black Bean and Turkey Chili
1. Heat 1 1/2 teaspoons of the oil over medium-high heat in a large Dutch oven.
2. Add the turkey and cook, breaking up chunks with the side of a wooden spoon, until browned, about 5 minutes.
3. Push the turkey to the edges of the pan, leaving the middle empty. Reduce the heat to medium and add the remaining 1 1/2 teaspoons oil, then the onion and garlic to the center of the pan. Cook, stirring occasionally, until the vegetables start to soften, about 3 minutes.
4. Add the chili powder and cumin and stir about 30 seconds.
5. Add the tomato paste and 1 teaspoon salt and stir until the paste begins to darken in color, about 30 seconds.
6. Add the squash, tomatoes and 4 cups water. Bring mixture to a boil, then adjust heat and reduce to simmer. Let simmer, uncovered, until the chili has thickened and the squash is tender, 40 to 50 minutes.

[While the chili is simmering, I made the avocado crema (recipe below). But you’re not done with the chili just yet, so make sure to go on to step 7!]

7. Once the chili is thickened and the squash is tender, stir the beans and chia seeds into the chili and heat through, about 5 minutes.
8. Season with an additional 1/2 teaspoon salt and a few grinds of pepper, then taste the chili and stir in up to 2 tablespoons of vinegar.
9. Spoon the chili into bowls and top each bowl with a few drizzles of avocado crema!

Avocado Crema
[steps continued from above]
1. Combine avocado and Greek yogurt in the bowl of a food processor. Process for 1 minute until smooth and creamy.
2. Add remaining ingredients and process again for 2 minutes until very smooth and only tiny bits of the cilantro are visible.
3. Transfer to a jar [for this recipe I used a squeeze bottle to drizzle] and refrigerate until the chili is ready. Can be stored in the refrigerator for 1-2 days.
*If you like the crema a bit thinner, add more half and half to the processor until you reach desired consistency*