Stuffing Stuffed Acorn Squash

Let me start out by saying I am NOT a fan of leftovers. AT ALL. However, somehow we always end up with mounds of them in our refrigerator (thanks, Mom). In the past, we’ve been really bad with not making the most of our leftovers, so this year I decided to change that up. By adding simple ingredients, leftovers can save a ton of time and money and not taste half bad.

My mom made some STELLAR stuffing this year, full of sausage and cranberries. Per my request, I was sent home with her stuffing leftovers after Thanksgiving; however,  I wasn’t all too enthused to eat it popped into the microwave on its own. So I stopped and picked up a few acorn squash (I had never cooked with them before!) and some sage, not exactly sure what I’d do with them. First thought: stuff the squash, of course, and what better to stuff it with then….(you guessed it) STUFFING! The rest of the ingredients were already in my pantry, so this made for a very cheap and tasty winter meal.

Aren’t they so pretty?!

Stuffing Stuffed Acorn Squash

Stuffing Stuffed Acorn Squash

Stuffing Stuffed Acorn Squash

If you don’t have stuffing leftovers just lying around, and you think this recipe sounds way too delicious to pass up, just go ahead and make a batch of stuffing (I included my mom’s recipe below) and use it throughout the week for other meals!

Here ya go, two recipes for the price of one!

Stuffing Stuffed Acorn Squash

  • Servings: 2-4
  • Difficulty: easy
  • Print

Ingredients
2 acorn squash
2 tablespoons olive oil
2 tablespoons butter
2 tablespoons sage, minced
2 cups leftover stuffing (I used my Mom’s cranberry sausage stuffing recipe below, but you can use your favorite)
¼ cup panko breadcrumbs

Directions
1. Preheat the oven to 350 degrees F.
2. Cut the acorn squash in half, scoop out the seeds. Tip: Cut the tip of the top portion so that the squash sits easily on both sides (you will be cooking face up and face down).
3. Add the olive oil in the middle of the open halves and use a pastry brush to coat the edges.
4. Place the squash halves open side down on a baking sheet and bake for 15-20 minutes.
5. Flip the squash over and run a fork through the middle making strings. Add a little butter and top with leftover stuffing (can be right out of the fridge).
6. Bake for another 20 minutes. Remove from the oven and spray with cooking spray and top each half with panko breadcrumbs. Bake for another 15 minutes or until squash is tender and the stuffing is hot.
7. When done, top with sage and serve.

**Again, I used leftover stuffing for this recipe. If you don’t have a favorite stuffing recipe, I’ve included the very tasty Cranberry Sausage Stuffing recipe that I used below**

Cranberry Sausage Stuffing

  • Servings: 8
  • Difficulty: easy
  • Print

Ingredients
16 oz Jimmy Dean sausage
½ cup butter
6 stalks celery, finely diced
2 medium onions, finely diced
12 oz package cornbread stuffing (stove top)
1 cup dried cranberries
1 tsp salt
2 cans (14.5 oz) chicken broth

Directions
1. Preheat oven to 325 degrees F.
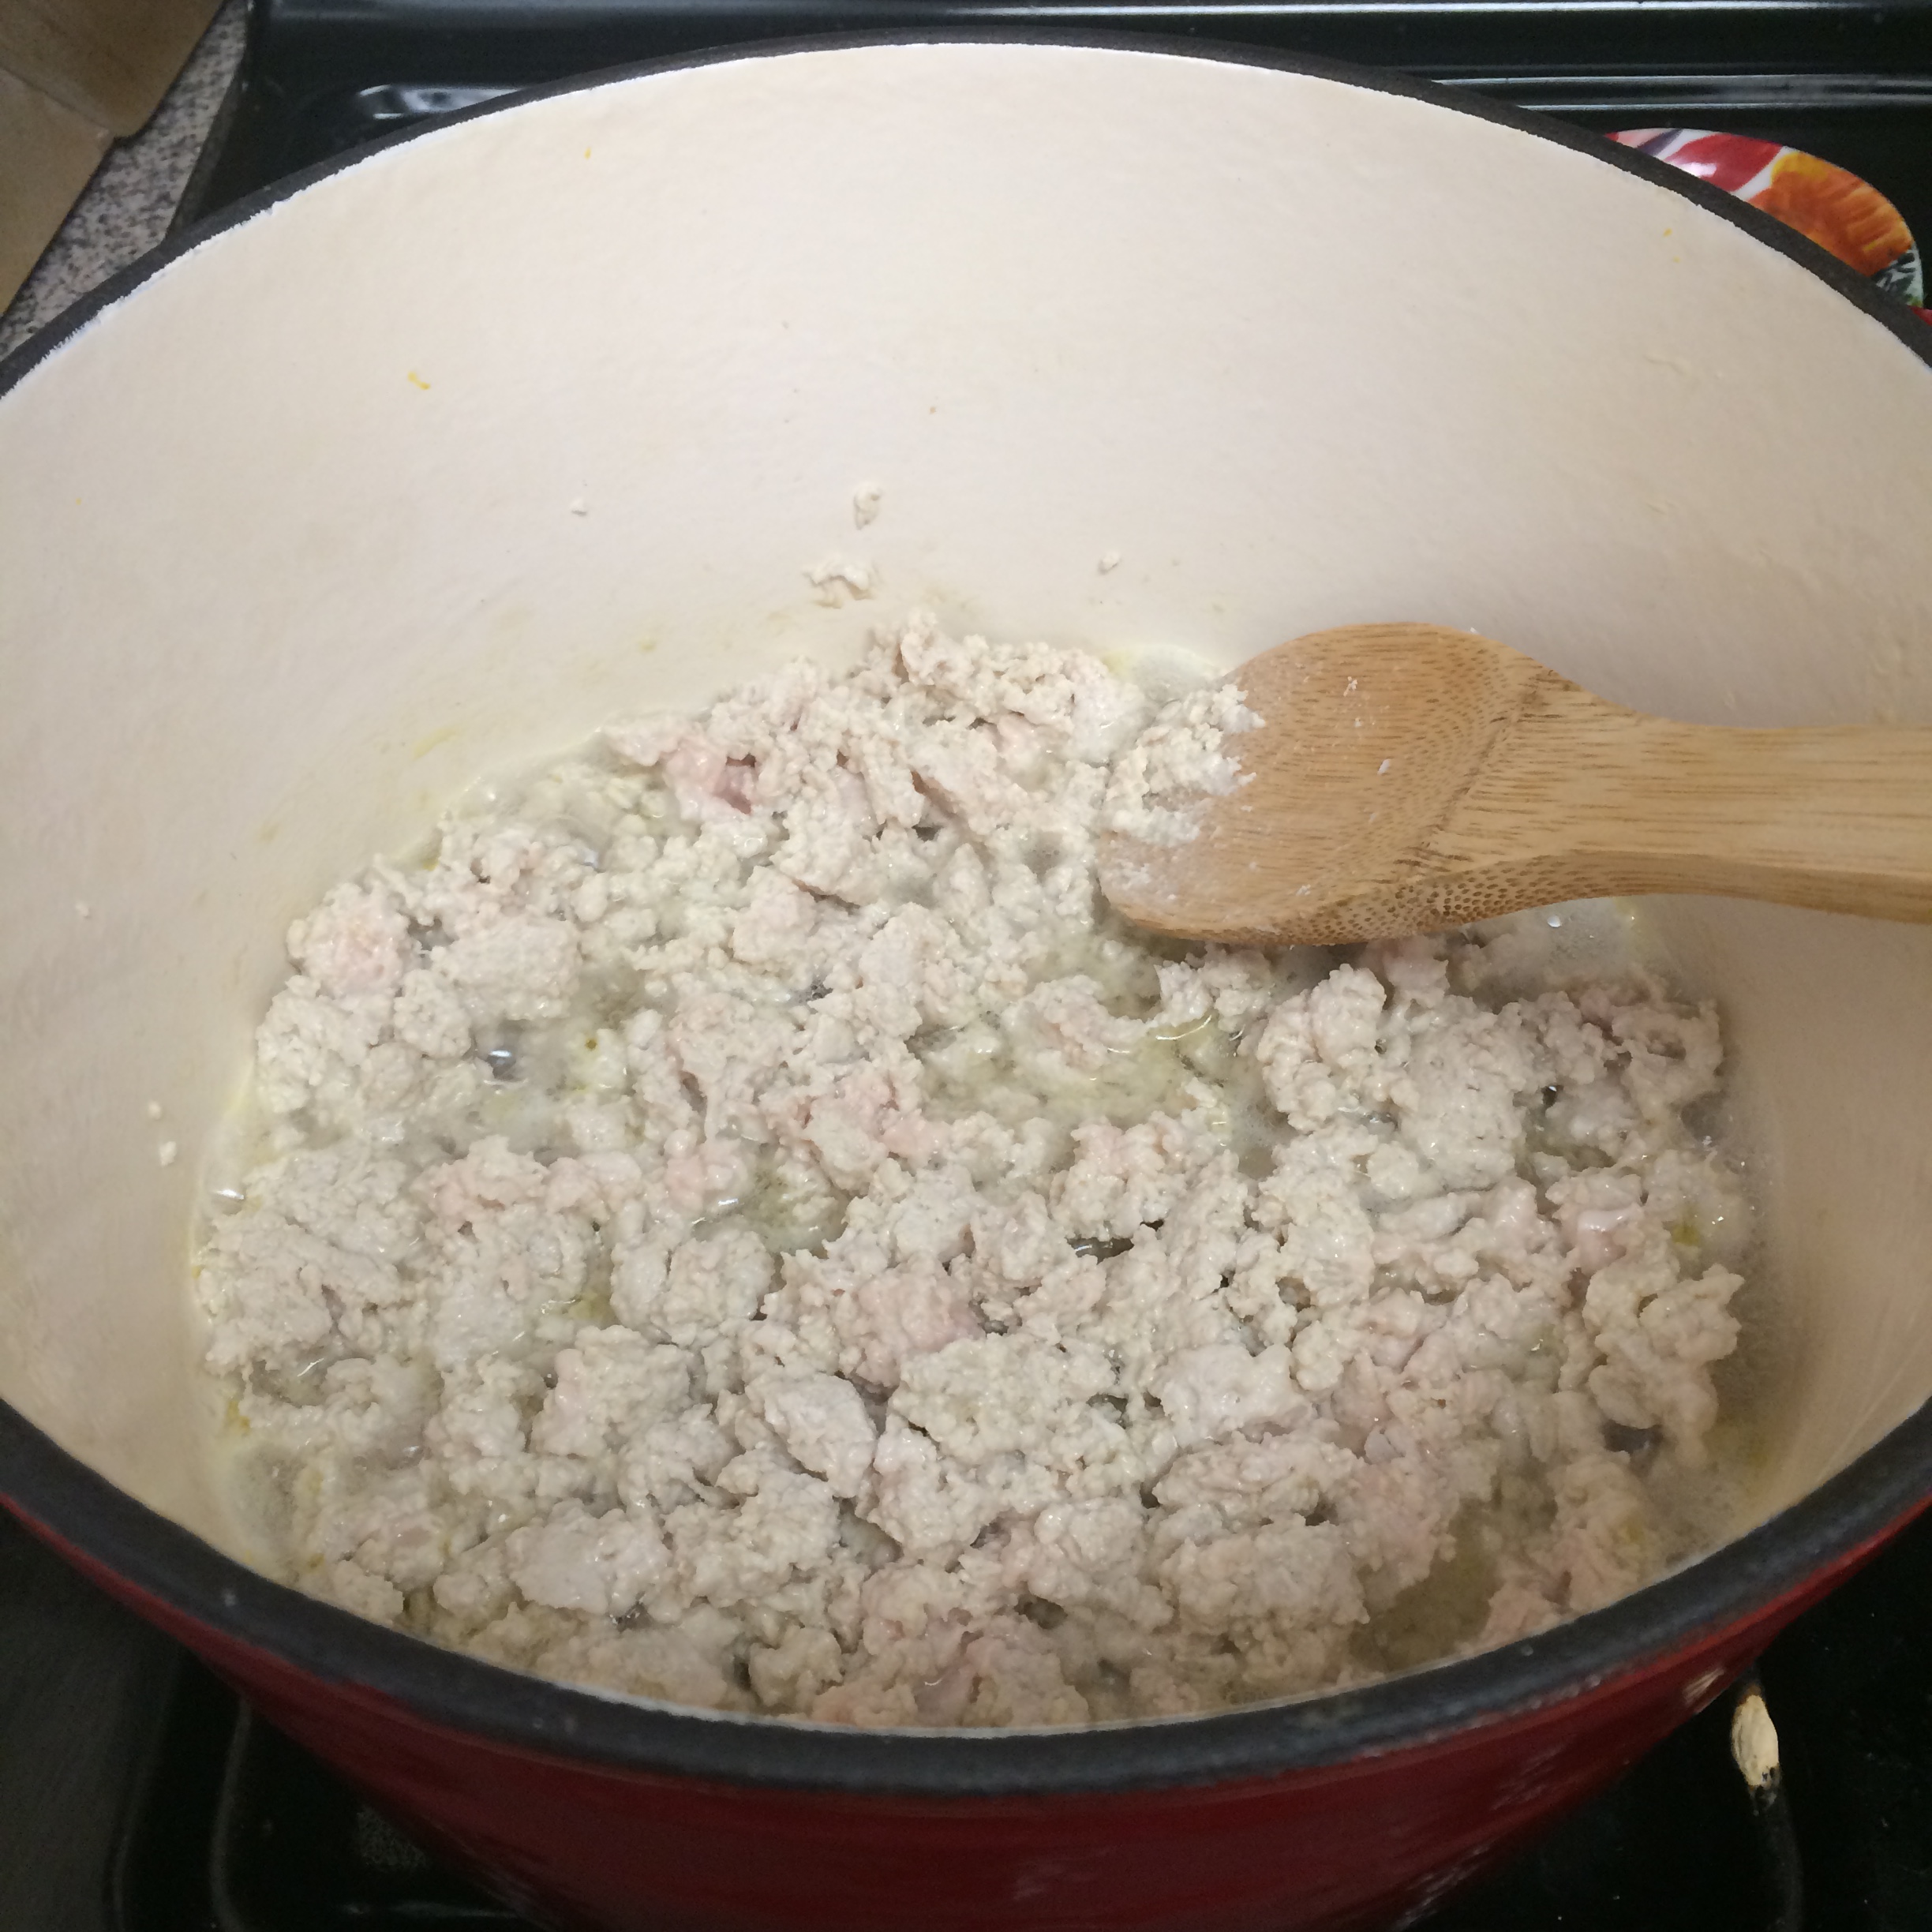
2. In large skillet, crumble and cook sausage until browned. Remove from pan.
3. In the same skillet, melt the butter over medium heat and saute the celery and onion until soft, about 5 minutes.
4. In a large bowl combine celery, onion, sausage, stuffing mix, cranberries, and salt. Add broth and stir until well mixed. Bake in casserole dish, covered for 1 hour at 325 degrees F or until hot.
5. Refrigerate up to 4 days in air tight container until ready to use.


Healthy Deep Dish Cookie Pie

Will this rain ever stop?! It’s been two full days of nothing but RAIN. And what’s worse is by the time I get home it’s dark, so there really is no getting me to do anything productive after work. All I want to do is Netflix & NOM.

This deep dish cookie allowed me to do just that and not feel totally bad about it. It’s so decadent and chocolatey and warm and even SOMEWHAT healthy! I was a bit skeptical when trying out this recipe from Chocolate Covered Katie because one of the main ingredients is beans. I’ve done the whole bean thing before and it was not a pleasant result, but Katie knows what she’s doing. NEVERBEENSO delicious!

Healthy Deep Dish Cookie Pie

Chocolate Covered Katie

Healthy Deep Dish Cookie Pie

  • Servings: 6
  • Difficulty: easy
  • Print

Ingredients
2 cans white beans or garbanzos (drained and rinsed) (500g total, once drained)
1 cup quick oats
1/4 cup unsweetened applesauce
3 tbsp oil (canola, veg, or coconut)
2 tsp pure vanilla extract
1/2 tsp baking soda
2 tsp baking powder
1/2 tsp salt
1 1/2 cups brown sugar
1 cup chocolate chips

Directions
1. Preheat the oven to 350 degrees F.
2. Blend everything (except the chips) very well in a good food processor (not a blender).
3. Mix in chips, and pour into an oiled pan (I used a 10-inch spring-form pan, but you can use a smaller pan if you want a really deep-dish pie.)
4. Bake for around 35-40 minutes. Let stand at least 10 minutes before removing from the pan.
5. Pair with milk and indulge!

Mexican Chocolate Pecan Pie 


Need I say more here? Probably not, but I will..

HAPPY THANKSGIVING EVERYONE! Every Thanksgiving I try a different rendition of a pecan pie. Last year it was whiskey pecan pie, but let’s just say whiskey-1, me-0.

This year I was inspired by Chef Marcela’s Mexican Chocolate Pecan Pie. This recipe only takes up your oven for 10 minutes and on Thanksgiving that’s about all I have between everything else. There were some conflicting reviews posted on Marcela’s recipe, so I decided to change it up a bit when it came to a few ingredients.

The Perfect Pie Crust  

This is the Mexican chocolate I ended up finding. Wasn’t the brand the recipe recommended, but I found it at Whole Foods and ended up mixing in some milk chocolate and cinnamon.

Mexican Chocolate

  Mexican Chocolate Pecan Pie

Mexican Chocolate Pecan Pie

  • Servings: 6
  • Difficulty: easy
  • Print

Ingredients

Crust
Nonstick cooking spray, for pie dish
1.5 cups graham cracker crumbs
7 tablespoons unsalted butter, melted
2 tablespoons packed light brown sugar

Filling
12 tablespoons unsalted butter
½ cup packed light brown sugar
6 tablespoons light corn syrup
3 cups pecan halves (about 10 oz)
1/4 cup whipping cream
2 oz Mexican chocolate (I used Taza Chocolate – found at Whole Foods), finely minced
1 oz milk chocolate, finely minced
2 teaspoons cinnamon

Directions

Crust
1. Spray a 9-inch pie dish with cooking spray.
2. Blend the graham cracker crumbs, melted butter and light brown sugar together in a medium bowl by hand.
3. When well combined, press the crumb mixture into the bottom and up the sides of the prepared pie dish. Cover the crust and freeze while preparing the filling. (Can be prepared 1 week ahead and kept frozen).

Preheat the oven to 350 degrees F.

Filling
1. Combine the butter, brown sugar and corn syrup in medium saucepan. Bring to boil, stirring often. Boil 1 minute.
2. Stir in the pecans and whipping cream. Boil until the mixture thickens slightly, about 5 minutes. Remove from the heat.
3. Add the chocolate, cinnamon and stir until the chocolate melts and the mixture is well blended.

Pour the filling into the crust. Using a spoon, evenly distribute the nuts. Bake until the filling bubbles all over, about 10 minutes. Transfer the pie to a rack and cool completely.

Butternut Squash, Black Bean and Turkey Chili with Avocado Crema

Up until about a year ago, I hated black beans, loathed them actually. I wouldn’t go near them. NOW, I’ve neverbeenso obsessed. I don’t know what changed with my taste buds, but I regret all those meals that I asked “no black beans please.” I’ve been trying to incorporate them everywhere. This meal does just that, along with a million of my other favorite ingredients: turkey, butternut squash, tomatoes, avocado, cilantro, oh my.

The prep/cook time for this meal is longer than normal, but I was off so I didn’t mind the hour and a half; and it was well worth it! This chili would have been just fine on it’s own, but the avocado crema adds that zing and creates a flavor explosion. The heat from the chili and the coolness from the avocado is a beautiful combination.

Not to mention this is a health food power house!

Butternut Squash, Black Bean and Turkey Chili with Avocado Crema

Butternut Squash, Black Bean and Turkey Chili with Avocado Crema

Let that turkey simmer and it starts to smell deliciousss!

Butternut Squash, Black Bean and Turkey Chili with Avocado Crema

All the looks and feels of FALL!

Butternut Squash, Black Bean and Turkey Chili with Avocado Crema

Now, we’re cookin! And I’m waitin..patiently! I usually fill this time with wedding planning, reality TV watching, wine drinking etc.

Butternut Squash, Black Bean and Turkey Chili with Avocado Crema

  • Servings: 4-6
  • Difficulty: easy
  • Print

Ingredients

Butternut Squash, Black Bean and Turkey Chili
3 teaspoons olive oil
1 lb 99% fat-free ground turkey
1 medium onion, diced
3 cloves garlic, minced
1/4 cup chili powder
1 tablespoon ground cumin
4 tablespoons tomato paste
Kosher salt
1 small butternut squash, peeled, seeded and cut into 1/2inch cubes (about 4 cups)
4 ripe plum tomatoes, chopped
Two 14-ounce cans black beans, drained and rinsed
1/4 cup chia seeds
Freshly ground black pepper
1 to 2 tablespoons white wine vinegar
Avocado Crema to drizzle

Avocado Crema
1 large ripe avocado
½ cup Greek yogurt
3 tablespoons half & half
2 ½ tablespoons freshly squeezed lime juice (from about 1.5 medium limes)
1 teaspoon honey
1 medium clove garlic
½ cup roughly chopped fresh cilantro
1 teaspoon cumin
½ teaspoon kosher salt

Directions

Butternut Squash, Black Bean and Turkey Chili
1. Heat 1 1/2 teaspoons of the oil over medium-high heat in a large Dutch oven.
2. Add the turkey and cook, breaking up chunks with the side of a wooden spoon, until browned, about 5 minutes.
3. Push the turkey to the edges of the pan, leaving the middle empty. Reduce the heat to medium and add the remaining 1 1/2 teaspoons oil, then the onion and garlic to the center of the pan. Cook, stirring occasionally, until the vegetables start to soften, about 3 minutes.
4. Add the chili powder and cumin and stir about 30 seconds.
5. Add the tomato paste and 1 teaspoon salt and stir until the paste begins to darken in color, about 30 seconds.
6. Add the squash, tomatoes and 4 cups water. Bring mixture to a boil, then adjust heat and reduce to simmer. Let simmer, uncovered, until the chili has thickened and the squash is tender, 40 to 50 minutes.

[While the chili is simmering, I made the avocado crema (recipe below). But you’re not done with the chili just yet, so make sure to go on to step 7!]

7. Once the chili is thickened and the squash is tender, stir the beans and chia seeds into the chili and heat through, about 5 minutes.
8. Season with an additional 1/2 teaspoon salt and a few grinds of pepper, then taste the chili and stir in up to 2 tablespoons of vinegar.
9. Spoon the chili into bowls and top each bowl with a few drizzles of avocado crema!

Avocado Crema
[steps continued from above]
1. Combine avocado and Greek yogurt in the bowl of a food processor. Process for 1 minute until smooth and creamy.
2. Add remaining ingredients and process again for 2 minutes until very smooth and only tiny bits of the cilantro are visible.
3. Transfer to a jar [for this recipe I used a squeeze bottle to drizzle] and refrigerate until the chili is ready. Can be stored in the refrigerator for 1-2 days.
*If you like the crema a bit thinner, add more half and half to the processor until you reach desired consistency*

German Chocolate Cookies

My work throws an annual Oktoberfest party and being that I love themes, I decided to bring a dish that honors the German tradition. The party is outside and for roughly 30 people so I needed a dish that could fill a crowd, transport easily and go with the theme. I instantly thought German Chocolate Cupcakes, but I didn’t want to have to worry about the excess wrapper trash, so I figured why not go the same route, but with cookies!

These cookies are moist and chewy and go great with beer!

German Chocolate Cookies

German Chocolate Cookies

German Chocolate Cookies

The frosting took a little trial and error for me. I didn’t stir constantly at first, so the liquid never thickened. Make sure to stir, stir, stir! BUT, it is so worth it! I’ve neverbeenso hungry for frosting!

German Chocolate Cookies

German Chocolate Cookies

They were a crowd pleaser for sure! Enjoy!!

German Chocolate Cupcakes

  • Servings: 4 dozen
  • Difficulty: easy
  • Print

Ingredients

Chocolate Cookie
2 sticks butter, softened
1 cup light brown sugar
1 cup granulated sugar
2 teaspoons vanilla extract
2 large eggs, beaten
2 1/4 cups all-purpose flour
1/2 cup unsweetened cocoa powder
1 teaspoon baking soda
Pinch salt

German Chocolate Frosting
1 cup evaporated milk
1 cup sugar
3 egg yolks
½ cup butter
1 teaspoon vanilla
1 1/2 cup sweetened shredded coconut
1 1/2 cup chopped pecans

Directions

Chocolate Cookie
1. Preheat the oven to 375 degrees F. Line baking sheets with parchment paper.
2. In a stand mixer or large bowl using a hand mixer, blend the butter, brown sugar, granulated sugar, vanilla and eggs. In a medium bowl, stir together the flour, cocoa, baking soda and salt. Gradually add the flour mixture into the butter mixture and blend until combined.
3. Drop the dough by tablespoonful onto the prepared baking sheets, 12 cookies per sheet, and bake 10 minutes. Cool on a baking rack.

German Chocolate Frosting
1. Add evaporated milk, sugar, egg yolks, butter and vanilla to a large pan and place on stovetop over medium heat.
2. Stir so that it becomes well combined. Stir constantly (this is important!!) until thickened, this takes approximately 11-15 minutes.
3. Once thickened remove from heat and add coconut and pecans. Mix until thick enough to spread.
4. Spread frosting over the tops of cooled cookies.

Recipe adapted from A Dash of Sanity.

Cauliflower “Fried Rice” with Smoked Sausage & Chicken

If you love the flavor of fried rice, but not all the carbs that come with it, you WILL NOT be sorry you tried this recipe! I love disguising vegetables in food, especially when it works so well that Will isn’t even so sure it’s not the real deal. That is what happened when I made this Cauliflower “Fried Rice”.

Yesterday I was CRAVING fried rice, but we had been eating out a lot lately, so I wanted to cook it myself. But then I took it up a notch and thought “hm, what can I replace the rice with to save some carbs.”

BINGO! CAULIFLOWER!

Cauliflower "Fried Rice" with Smoked Sausage & Chicken

I don’t love cauliflower on it’s own. I turned it into pizza crust once and it was delicious, but time consuming. I started browsing the net and thanks to Stay Fit Mom and my trusty Vitamix, I turned cauliflower into rice just like that (well, maybe 20 minutes)!

Cauliflower "Fried Rice" with Smoked Sausage & Chicken

Cauliflower "Fried Rice" with Smoked Sausage & Chicken

All you need is one head of cauliflower, olive oil, some salt and pepper and you’re good to go.

Once I transformed the cauliflower, I was able to turn my vision of “fried rice” into a reality. This is a sure-fire way to get lots of vegetables, meat AND flavor YET ALSO feeling good while eating it!

Will had no idea it wasn’t real fried rice until I told him and his exact words were “I thought it tasted like a healthier version, but I would have never known if you didn’t tell me!” And then he proceeded to have two helpings. Then we ate it again this morning for breakfast.

Cauliflower "Fried Rice" with Smoked Sausage & Chicken


Cauliflower "Fried Rice" with Smoked Sausage & Chicken


Aren’t these little prep dishes the cutest??


Cauliflower "Fried Rice" with Smoked Sausage & Chicken


Cauliflower "Fried Rice" with Smoked Sausage & Chicken

Cauliflower “Fried Rice” with Smoked Sausage and Chicken
Servings: 6

Ingredients:
– 1 Batch Cauliflower Rice (recipe here)
**Heads Up: For this you will need: Blender, 1 head of cauliflower, olive oil, salt and pepper**
– 1 Package Smoked Sausage (14oz), cut into 1 inch pieces
– 2 Boneless Skinless Chicken Thighs, cut into small pieces and cooked
– 3 Eggs, lightly beaten
– 2 Tbsp Cooking Oil
– 1 Cup Broccoli Florets
– 1 Cup Carrots, chopped
– 1/2 Cup Red Bell Pepper, chopped
– 4 Garlic Cloves, chopped
– 4 Tbsp Soy Sauce (I used low sodium)
– Salt and Pepper, to taste

Instructions:
1. Make cauliflower rice, as detailed above.
2. Spray a large skillet with nonstick spray and heat over medium heat. Add beaten eggs to the pan. Cook without stirring until eggs are set and cooked through – 3 minutes or so. Use spatula to move eggs to plate, cut into short thin strips. Set aside.
3. Heat oil in the skillet you just used over medium-high heat until hot. Add cauliflower rice (after roasting in the oven) and stir occasionally until it’s slightly browned (about 9 minutes). Remove from pan and set aside.
4. Turn the pan to medium heat and add sausage, broccoli, carrots, bell pepper, garlic and salt and pepper to the pan. Cook, tossing/stirring constantly, until the vegetables are tender, but still crisp (above 8 minutes).
5. Add chicken, cooked egg, cauliflower rice, and soy sauce to the vegetables and sausage. Stir until combined and completely heated through (above 5 minutes).
6. Serve immediately.

Beet, Spinach and Goat Cheese Pizza

Pizza is one of my favorite foods to make at home. Not only is it delicious, but you can really make use of what you have on hand.

Last week I stopped at the store to pick up something quick and decided to also grab some pre-made pizza dough, didn’t buy any recipe-specific toppings, just knew I needed pizza in the near future. A few days passed and I decided it was time for homemade pizza, so I began looking for some recipes online and I came across this delight from The Roasted Root. I didn’t have all of the ingredients the recipe called for, so I decided to adapt it based on what I had in the kitchen (wine > grocery shopping) and it turned out PHENOMENAL.

BEETS.
IMG_2933

I have a love-love relationship with beets. I like them pickled, blended, pureed, roasted – you name it. Not to mention they have a TON of great health benefits. On the other hand, it took a little more convincing to get Will to not turn his nose up whenever they were on the menu, but I succeeded! I disguised them in delicious smoothies or covered them in goat cheese (which I did here!).

This recipe swaps tomato sauce for a beet pesto. It’s delicious and the color is insanely beautiful.

IMG_2940

IMG_2938

IMG_2941
IMG_2942
IMG_2943

This recipe swaps tomato sauce for a beet pesto. It's delicious and the color is insanely beautiful.

Beet, Spinach and Goat Cheese Pizza

  • Servings: 6
  • Difficulty: easy
  • Print

Ingredients
Beet Pesto:
1 Cup Cubed Roasted Beets (about 1-2 medium)
*To roast the beets, preheat the oven to 375 degrees, peel the beets, cube them and wrap them in foil and bake for 40 minutes or until soft*
1/2 Cup Toasted Pine Nuts
1/2 Cup Grated/Shredded Cheese
2 Tbsp Lemon Juice
3 Cloves of Garlic (roughly chopped)
1/2 Cup Olive Oil
Salt & Pepper To Taste

The Pizza:
1 Package Pre-Made Pizza Dough
1 Cup of Beet Pesto
1.5 Cups Spinach (Roughly Chopped)
4 oz Goat Cheese
1 Cup Shredded Mozzarella

Directions
Beet Pesto:
1. Once the roasted beets are cooled, combine all ingredients except for the olive oil into a food processor and pulse until combined.
2. Turn the processor on and add the olive oil until desired consistency is reached.

*If the pesto is too thick, add water*
*I added a few basil leaves because I had them in the garden, but they didn’t enhance the flavor*

The Pizza:
1. Preheat the oven to 415 degrees.
2. Bake the dough (without toppings) in the oven for 5 minutes to make it easier to handle.
3. Remove the dough and add the pesto, spinach and top with cheeses.
4. Bake in the oven for 15 minutes or until cheese begins to brown.
5. Let cool for 5 minutes and DEVOUR!

Get the original recipe from The Roasted Root


10 Summer Squash Recipes to Cook Before They’re Gone

Summer Squash is one of my favorite vegetables, so when they pop up in the summer months, I make countless trips to the local farmer’s markets to stock up. I have a few standard summer squash recipes that I incorporate into my rotation; however, I recently bought an inspiralizer (which works insanely well with summer squash) and I’ve neverbeenso eager to test out some new recipes.

Yellow Squash and Zucchini are my summer squash go-tos. And the ultimate way to cook zucchini IMO, is in boat form. Versions of this recipe are all over the net, but this is the one I’ve perfected including all of my adaptations (while all the others are borrowed from the food genius’ of the universe).

  1. Italian Stuffed Zucchini Boats

FullSizeRender-3

Ingredients:

2 good size zucchinis (here, size does matter – the bigger the better!)
1 tbsp olive oil
1.5 cup spinach, chopped
1.5 lb ground turkey
¾ cup tomato sauce (with italian seasonings)
1 tsp. garlic powder
1 tsp onion powder
1 tsp dried oregano
1.5 tsp dried basil
¼ tsp red pepper flakes
1 egg lightly beaten
Pinch of salt and pepper (to taste)
Sprinkle of shredded mozzarella cheese

Directions:
1. Cut zucchini in half length-wise. Scoop out insides, leaving a shell about ¼ inch thick. Reserve about half of the insides.
2. In a medium skillet over medium-high heat, heat 1 tablespoon of olive oil and crumble in the meat and cook until lightly browned on all sides, stirring occasionally. Stir in seasonings, zucchini inners and spinach.
3. Add the tomato sauce. Cook for 1 more minute. Remove from heat and set aside to cool.
4. Preheat the oven to 375 degrees. Once the meat mixture has cooled a bit, mix in the egg, salt and pepper.
5. Fill a baking dish with ¼ inch of water. Place the zucchini shells in the dish and fill the shells with the mixture. Bake in the preheated oven for 40-45 minutes (depending on how large they are). Add a sprinkle of mozzarella cheese to each zucchini and return to oven to melt. Remove zucchinis from dish and serve warm. Enjoy!

  1. Pimento Cheese Stuffed Squash

I absolutely love the South. I spent about 2 months in Charleston, SC. this past year and was introduced to pimento cheese – O.M.G.
10ways_2pimento-stuffed-squash-1

Get the recipe from Spicy Southern Kitchen.

  1. Grilled Summer Squash Tacos

TACOS. TACOS. TACOS. I am a huge fan of Taco Tuesday, Taco Wednesday, Taco Thursday (you get the picture, I love tacos).
10ways_3summersquashtacos

Get the recipe from mountain mama cooks.

  1. Pesto Caprese Zucchini Salad

This ultra-simple salad is super refreshing and delicious! So you don’t have an inspiralizer? (what are you waiting for?!) Well, don’t fret, in the meantime, use a regular julienne peeler.
10ways_4pestocaprese

Get the recipe from Inspiralized.

  1. Zucchini Rice with Cranberries, Bacon, Goat Cheese, and Walnuts with Maple-Dijon Dressing

And you thought an inspiralizer was only good for making zoodles… This dish is perfect for welcoming Fall.
10ways_5

Get the recipe from Inspiralized.

  1. Zucchini Lasagna

Lasagna is a big front-runner in our house, however it isn’t the most waist-friendly dish. This lasagna made with zucchini is light and healthy!
10ways_6

Get the recipe from skinnytaste.

  1. Yellow Squash and Corn Soup

For when the cool breeze of Fall starts rolling through, this dish will keep you warm, while still holding on to that last bit of summer.
10ways_7

Get the recipe from love & olive oil.

  1. Zucchini Ricotta Gnocchi

This one takes some time, but boy is it worth it.

10ways_8

Get the recipe from closetcooking.

  1. Vegetable Tian

Isn’t this one just beautiful?! It’s delicious too!

10ways_9

Get the recipe on For The Love of Cooking.

  1. Chocolate Chip Zucchini Bread

Didn’t think I could leave you without the sweets, did you?!
10ways_10

Get the recipe from Just A Taste.